|
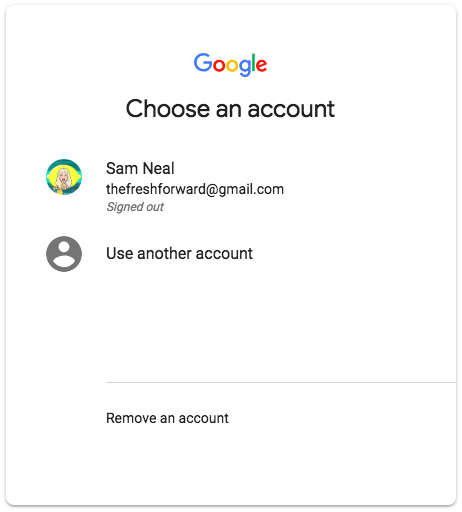
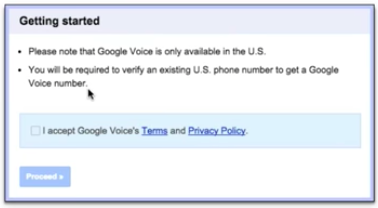
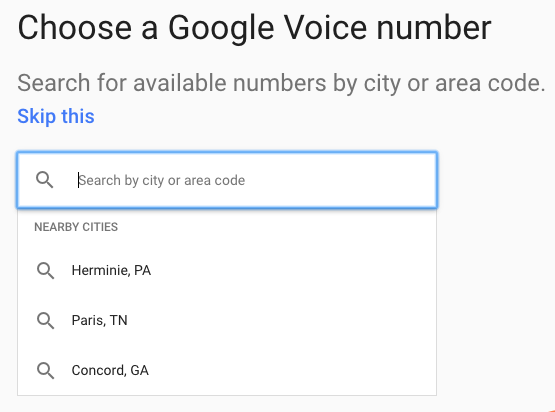
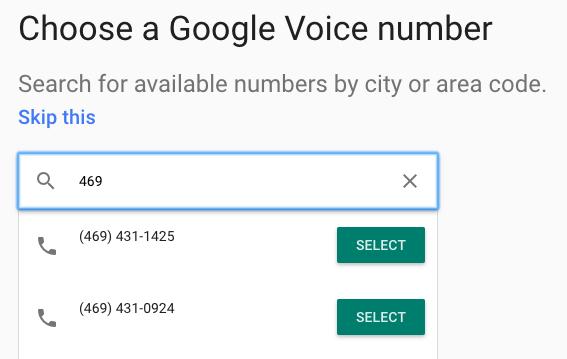
A lot of things come, go, and evolve in the world of education, but one thing remains true: Great teachers focus not on compliance, but on connections and relationships. What we also know is that relationships and connections extend beyond the school. It is not only important that we connect with learners, but that we help create connections with their parents and families. Google Voice is a voicemail service platform that allows you call parents without giving out your personal phone number. You can make calls from both your computer and personal phone. Get Started with Google VoiceFollow the steps below to set up Google Voice and make calls through your web browser. Prefer to make calls through your cell phone instead? You can also check out this helpful video to learn how to set up Google Voice using the iOS or Android app. 2. Log into Google Voice with your gmail address and accept the terms of service. Note: You will be asked to accept the terms and conditions. This includes verifying your account with a U.S. phone number. However, this phone number will not be shared when you make a call with Google Voice. 3. Set up your Google Voice number.
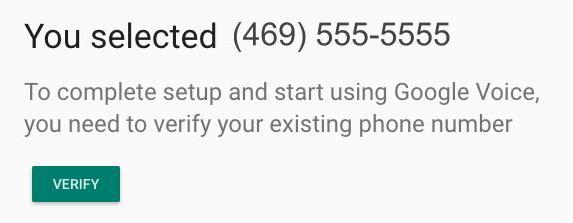
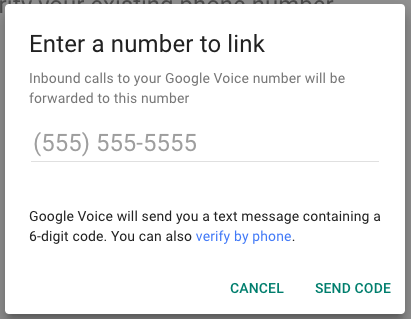
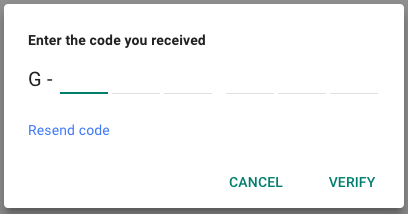
4. Verify your Google Voice number.
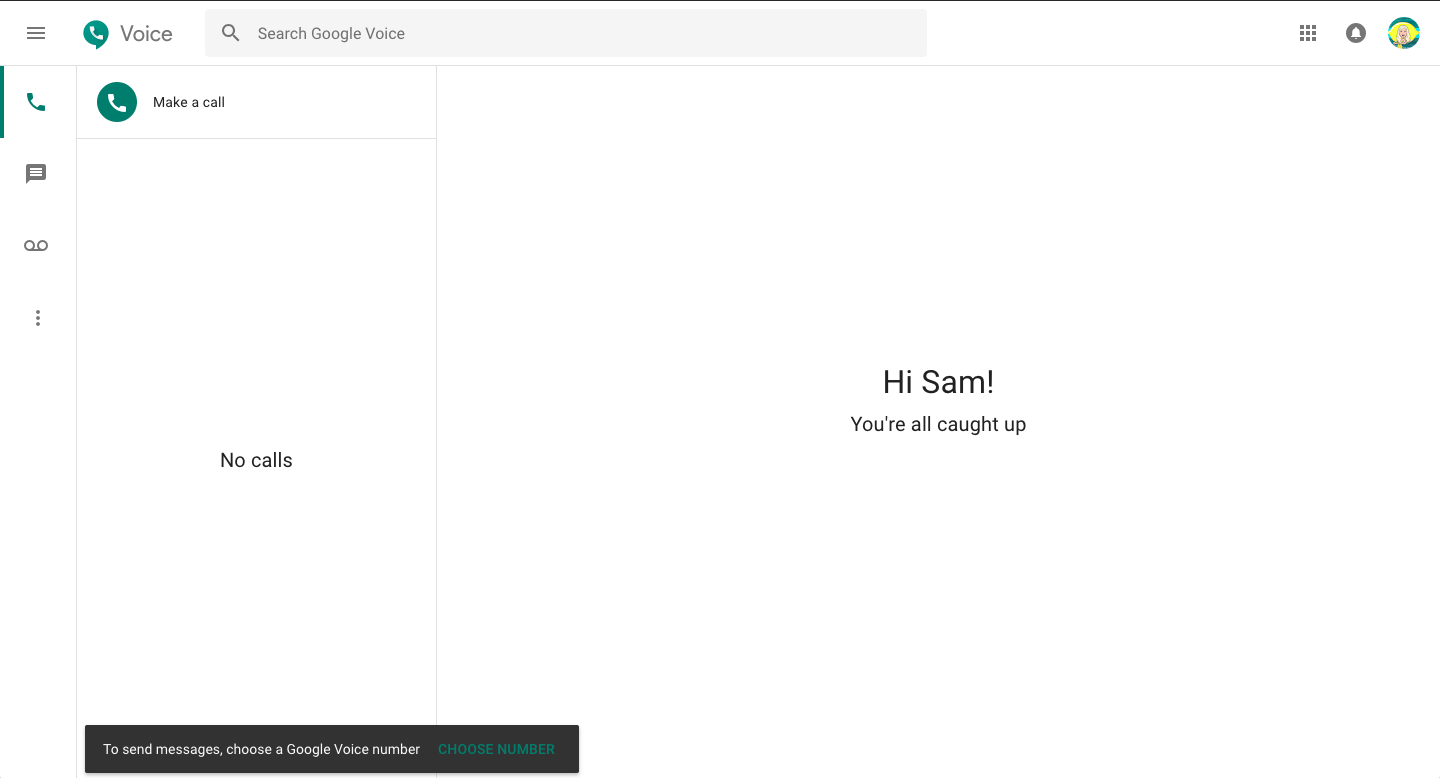
Now You're Ready to Make Connections!You can easily begin making phone calls on Google Voice using the phone icon in the left menu of the screen.  Prefer to make calls from your phone? Download the Google Voice app for iOS or Android and you can also make phone calls through your phone - all without revealing your personal phone number! Simply sign into the app with your Gmail account credentials and you're ready to start making those connections! Google Voice is just one of many ways to foster a powerful home-school connection. How do you connect your classroom? What are your favorite tools, tips, and tricks? Share in the comments! 
0 Comments
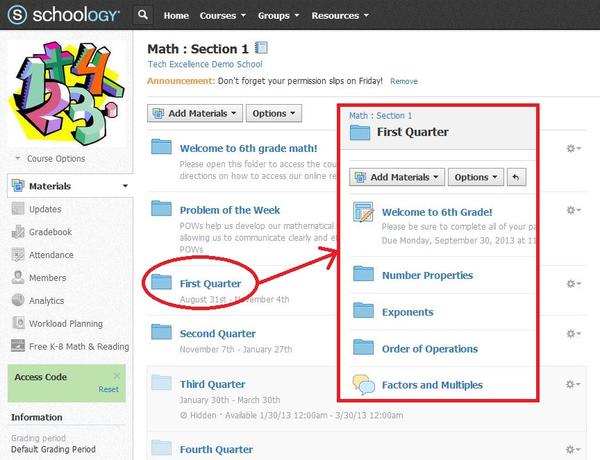
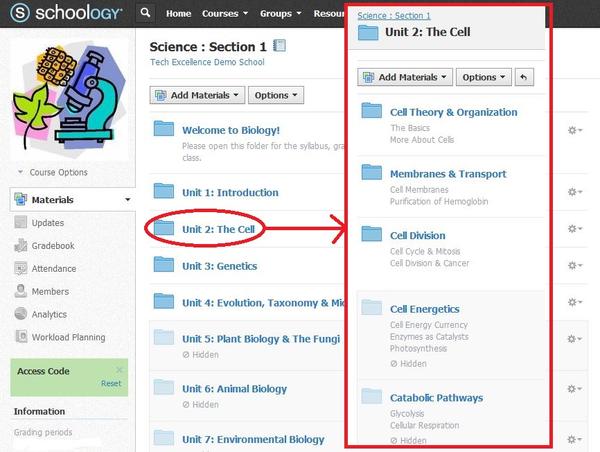
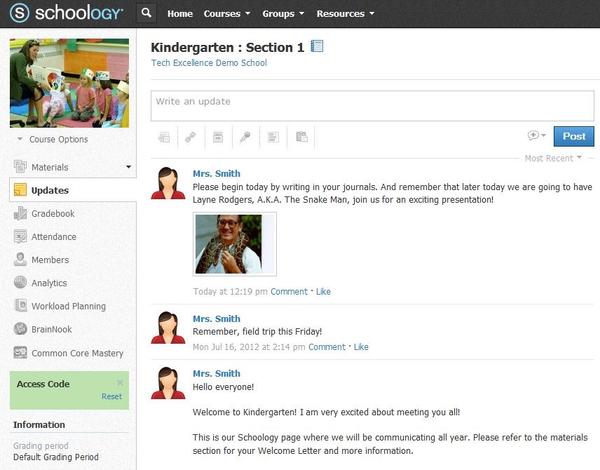
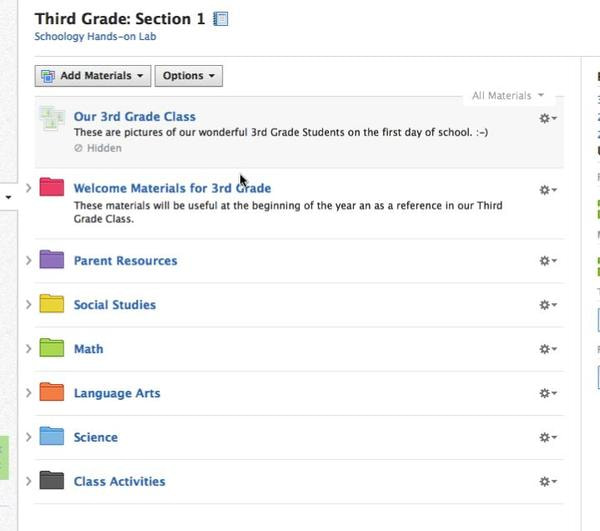
 We are only days away from welcoming the inaugural freshmen onto our brand new campus, and while I know we are fast and furiously putting the finishing touches on the classrooms, we are also preparing the digital environment inside of which our learners will create, collaborate, and share their learning. Check out these 9 tips, with resources created and curated by the CISD Digital Learning Coaches, for setting up your digital classroom in Schoology!  Save yourself from having to manage your different class periods by linking like courses together. Note: This only works for classes with the same PEIMS number, so you can link all of your sections of APHUG, but you cannot link a U.S. History course with a World History course.  Consider how you will organize your courses. Whether by unit or chronologically, it is important to know how you will structure your courses to ensure your learners can easily access and interact with the content they need.  To utilize Schoology to its fullest potential, be sure to connect Google Drive to your Schoology Resources, and have your learners do the same! You and your learners will only need to complete this step once, so many of your learners have already done this. Note: Although the Schoology app is a wonderful tool on the iPad, learners will need to complete this step on the web version.  Think about how you will establish the norms and expectations for how learners will interact inside of their digital classroom. 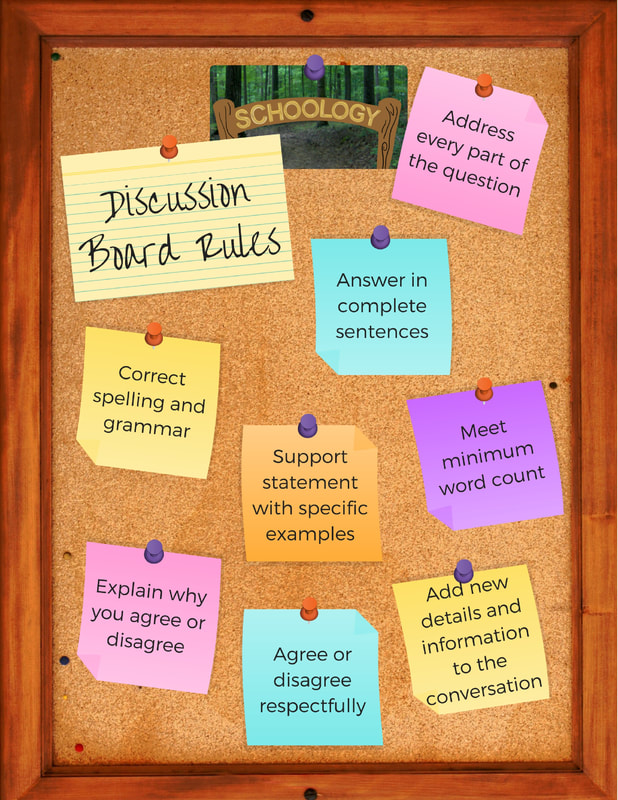  Speaking of communication inside of the digital learning environment, consider how online discussions can help capture the learning process and allow learners choice in how they show what they know.  Not only is our district Learning Management System (LMS) a place for learners to interact, but it is also a place to collaborate with other educators. Consider setting up Group Resources with your teammates in order to create a collaborative space for easily sharing Schoology materials. Build inside of resources so that you can easily copy content from Resources into your Courses or Groups. 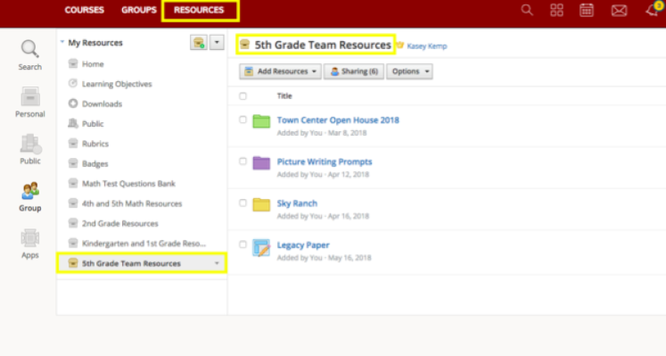  Provide parents with the resources they need to navigate Schoology successfully. Consider not only sending these resources directly to your parents and learners, but establishing a Parent Resource folder inside your Schoology courses.  Know when to recommend that your learners use the Schoology web browser vs. the app. Consider uploading the learner-facing resource below to your courses so learners have easy access.  Think about how you can leverage Schoology to activate creativity and critical thinking in your learners. Schoology is more than a content landing-page where learners can access resources. Think about ways to activate learner creativity and engage critical thinking through the variety of tools Schoology provides.
|


 RSS Feed